A few weeks ago I had a photo shoot with Pat and Meghan. Apart from getting great shots of this friendly couple, my goal was to practice some posing techniques.
Overall, we were all happy with this couple photography session, and I learned some things in the process.
The Plan
The initial plan was to go to Samyang beach in the morning to get some unique shots with the ocean in the background and volcanic rocks in the foreground. This plan was quickly ditched though because the wind was very, very strong on the beach! It was cold and miserable, everybody’s hair was flying everywhere, and it just wasn’t going to work out.
I called off the beach shots and decided to move to higher ground. I knew that there was a Buddhist temple hidden away in the Samyang hill nearby so decided to go there.
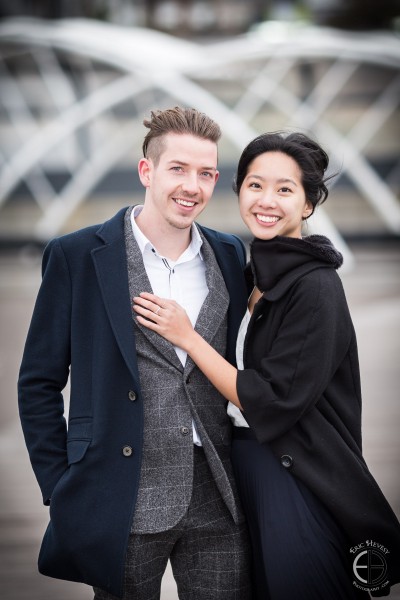
- One of the only shots worth keeping from the beach shoot. Even Meghan’s coat collar was effected from the wind!
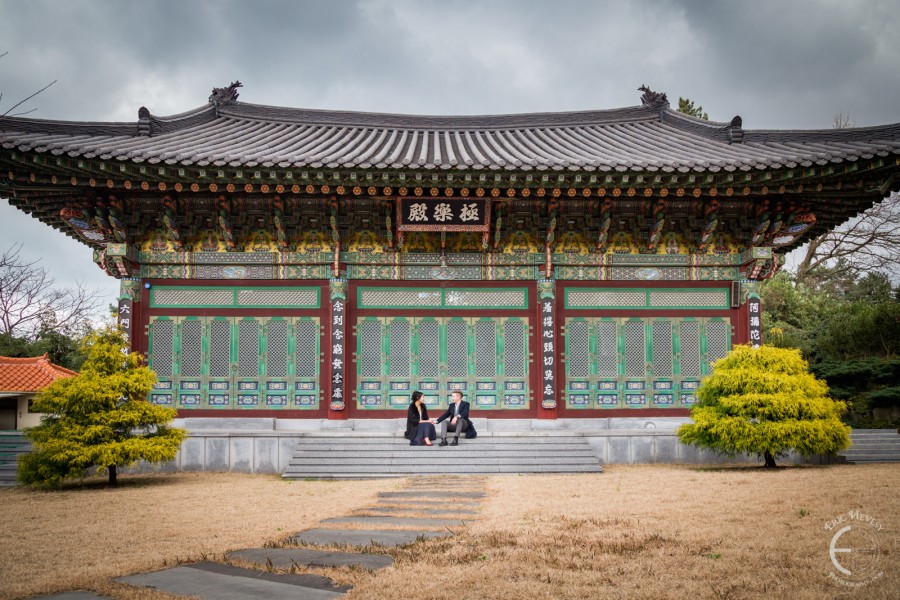
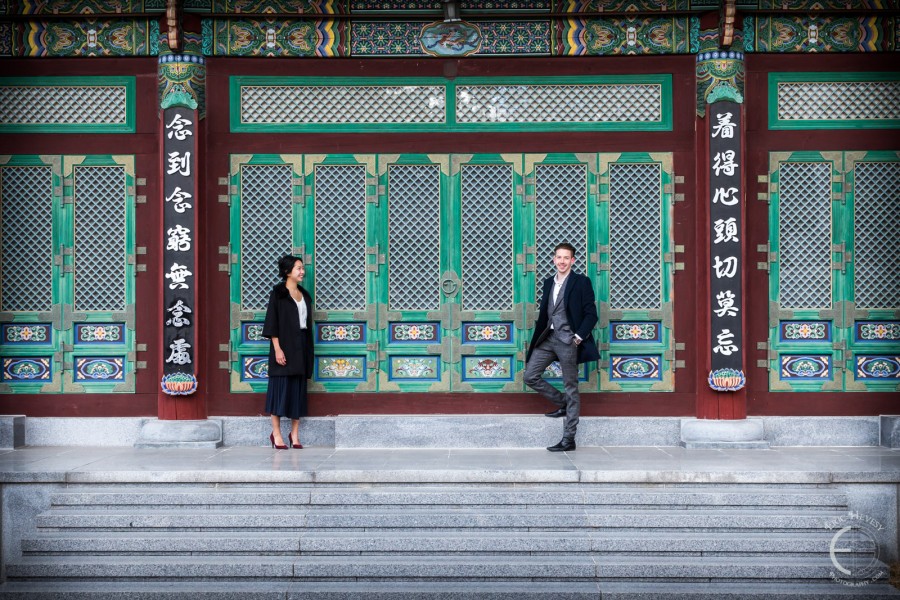
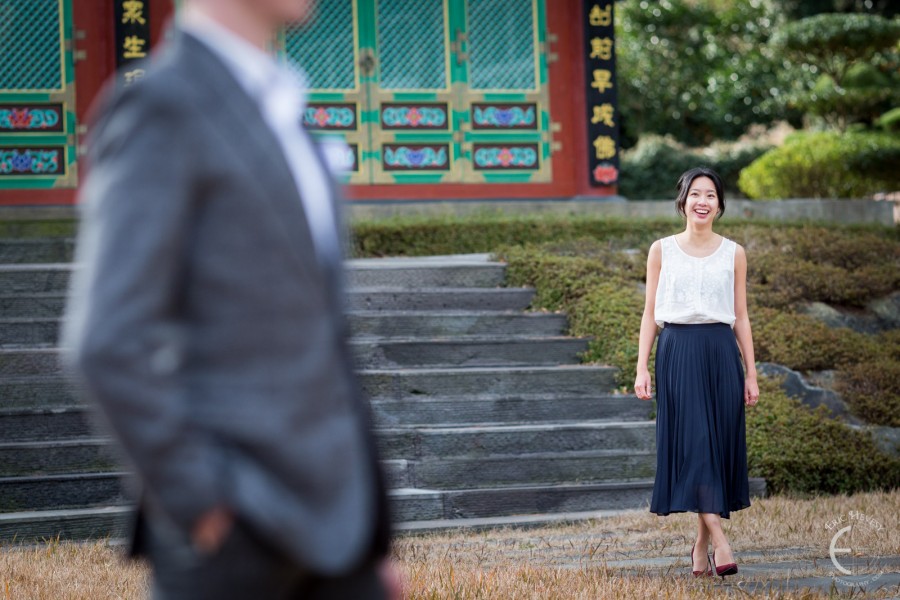
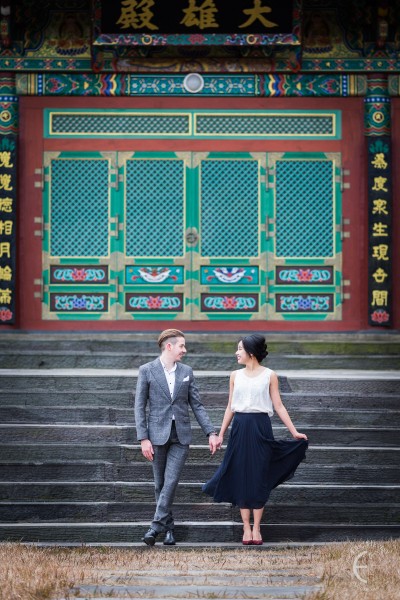
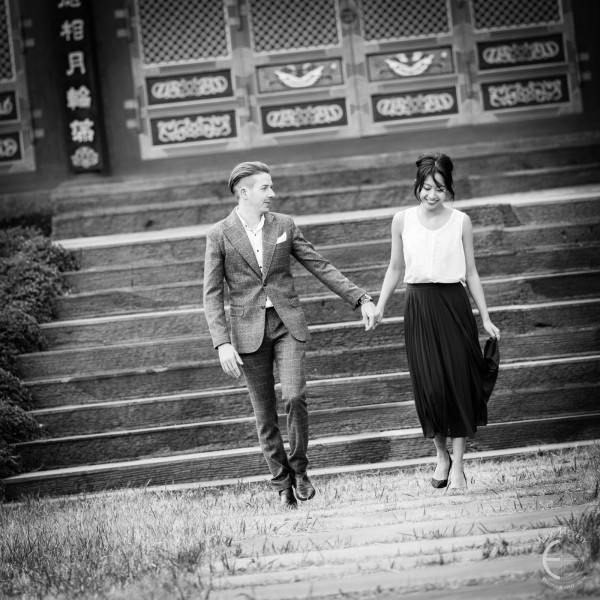
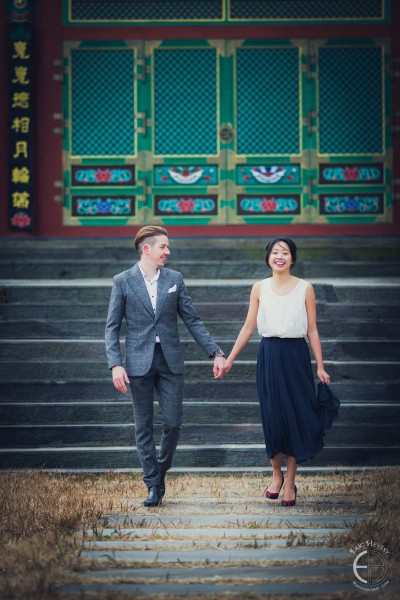
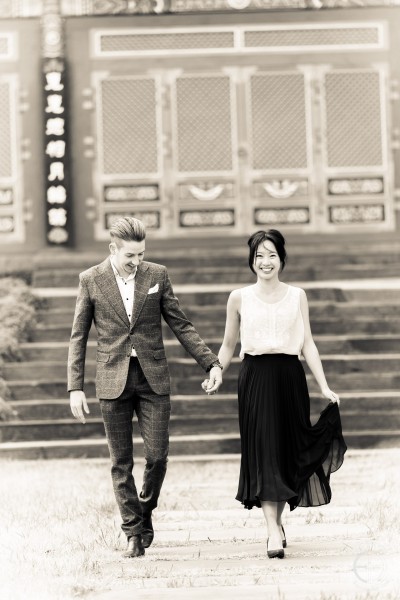
We felt much more comfortable once we arrived at the temple in the wooded hills of Samyang (I now know it is called the Bultapsa Temple). It wasn’t nearly as cold and windy, and the sun even peeked out for several minutes later in the shoot. I personally like taking photographs in and around temples because the gardens are colourful and usually immaculately tended to.
Gallery
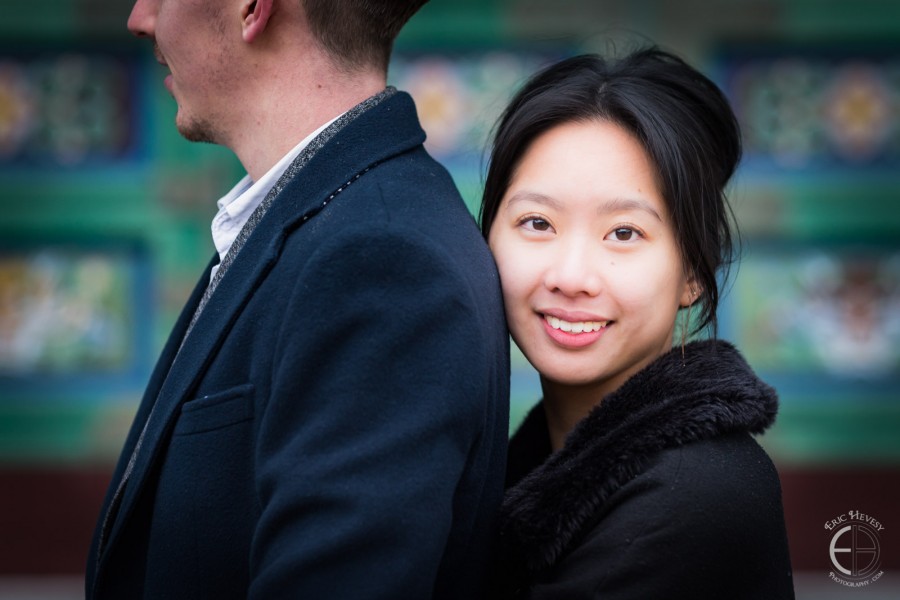
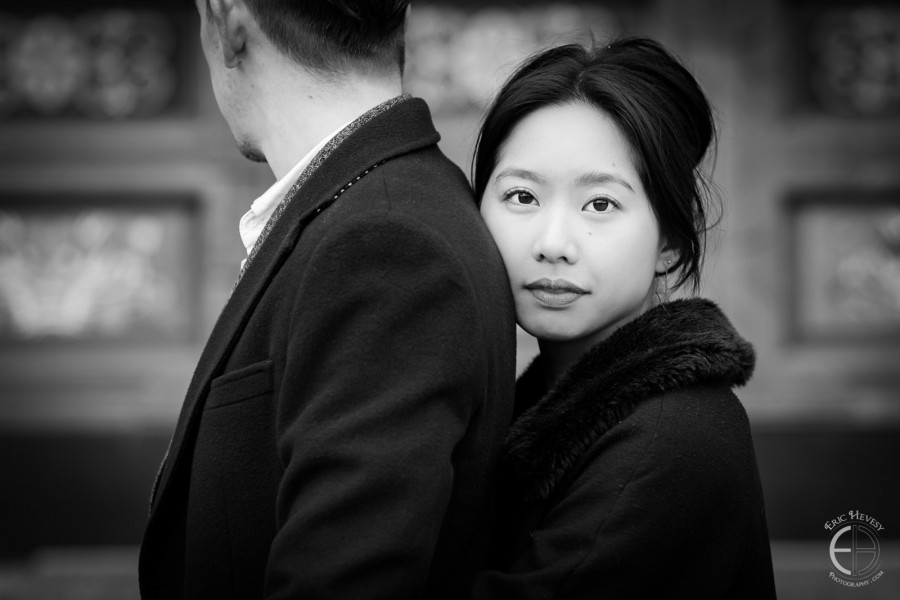
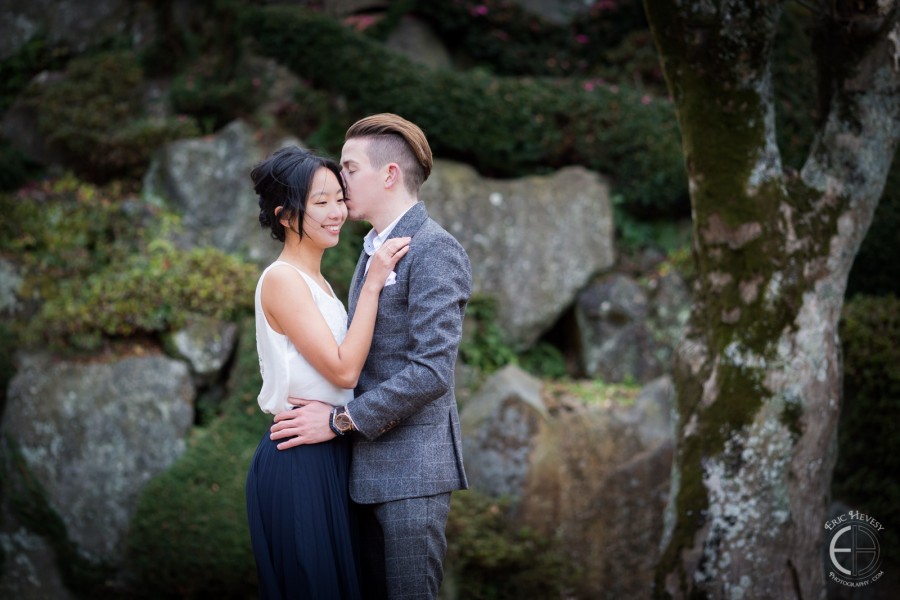
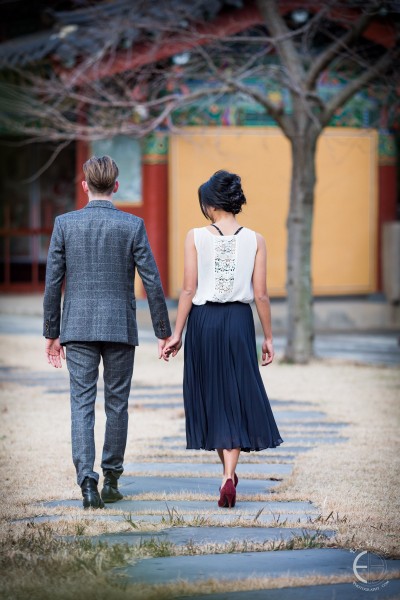
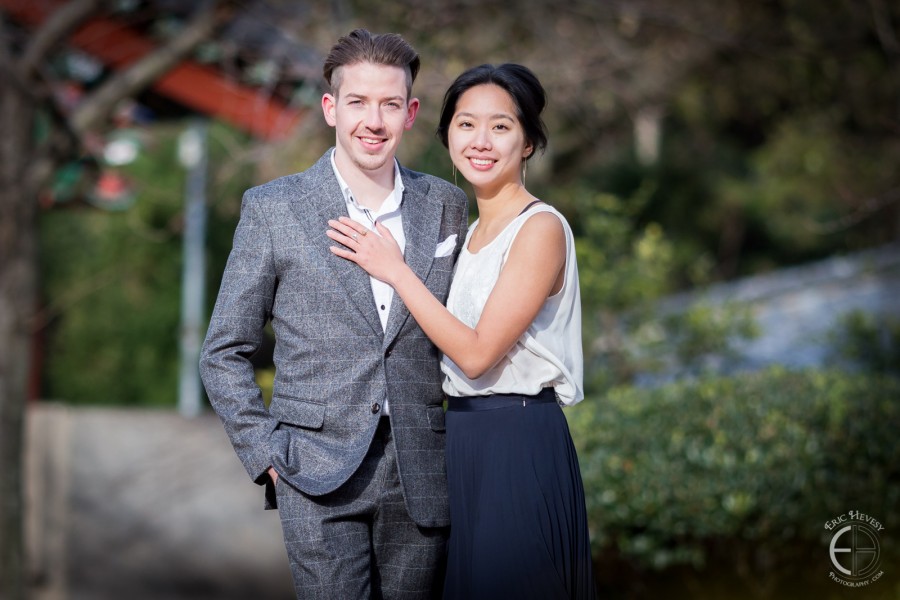
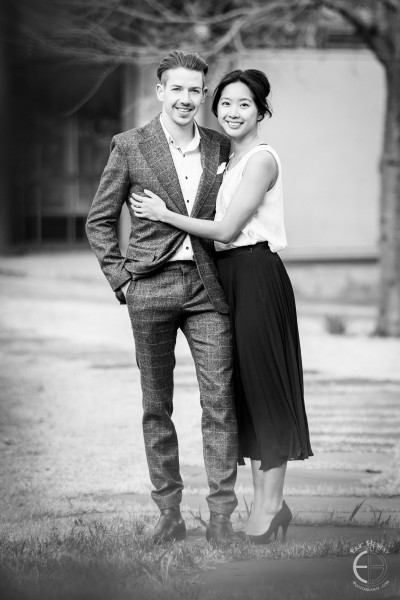
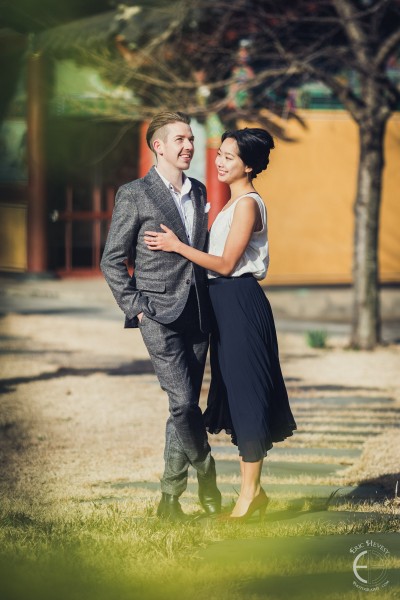
Click any image below to scroll through the photos in gallery mode. There are lots of different looks to the photos because I’ve been experimenting with color settings and Photoshop techniques recently. Which ones stand out to you personally?
- #1
- #2
- #3
- #4
- #5
- #6
- #7
- #9
- #10
- #11
- #12
- #13
- #14
- #15
- #17
- #19
- #20
- #21
- #22
- #23
- #24
What I Learned about Couple Photography
Here are a few things I learned/advice I would give when photographing couples:
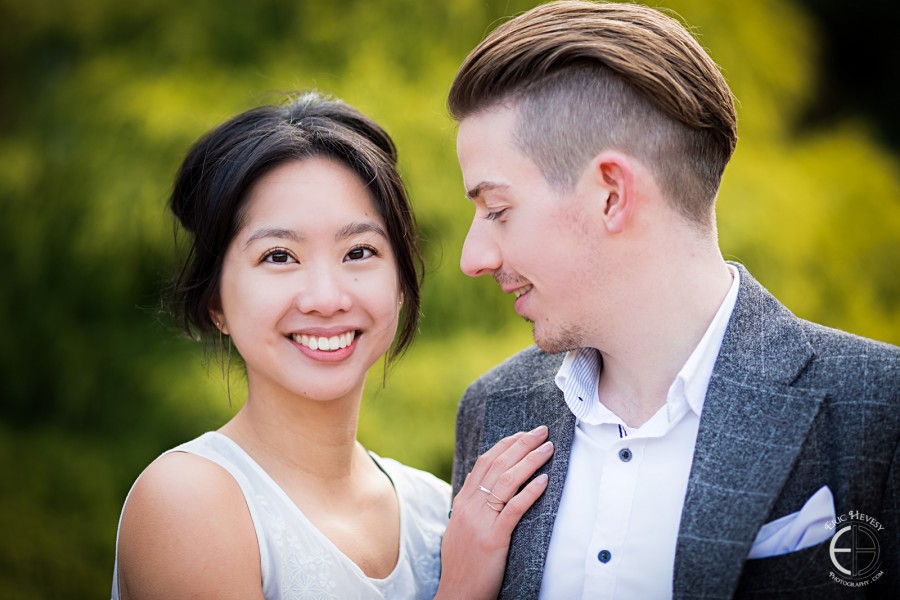
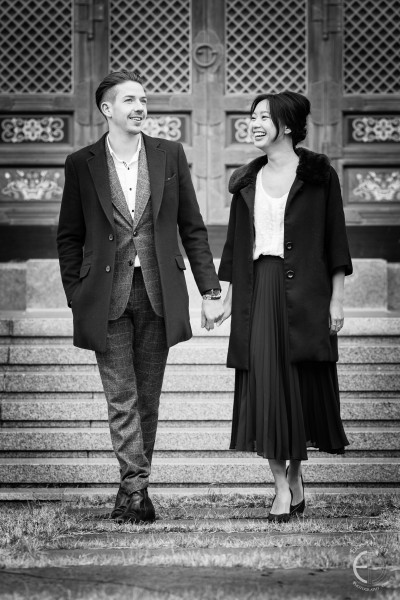
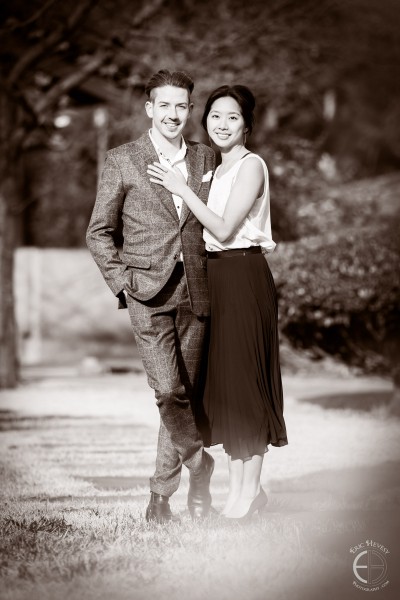
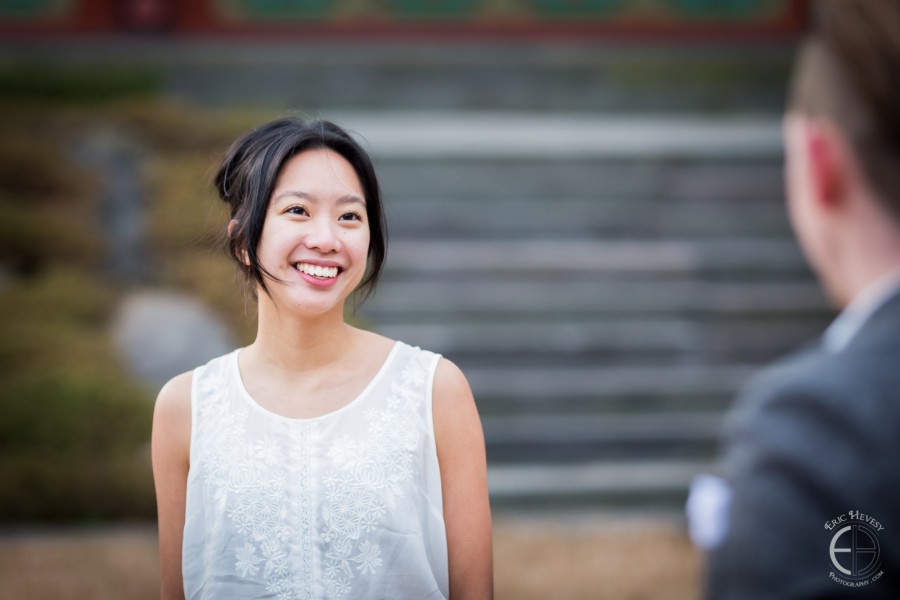
- Posture is paramount – Good posture is the foundation of any good portrait shot, whether the subject is standing or sitting. Making sure the lumbar spine is arched is also important, especially for females. Images #8 and #12 showcase good posture.
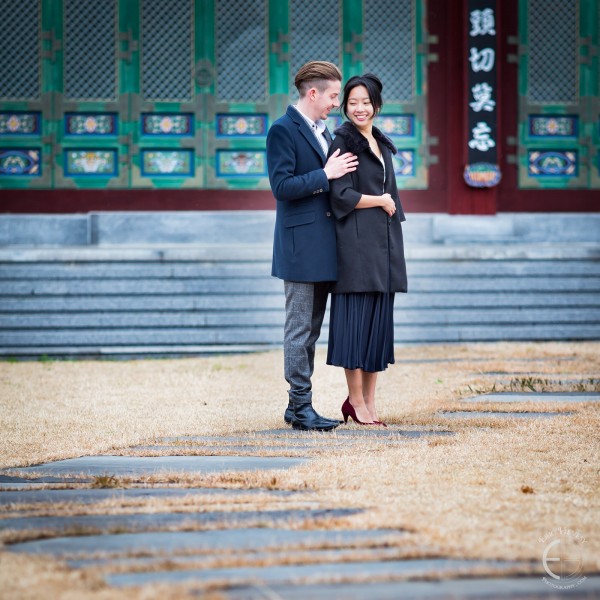
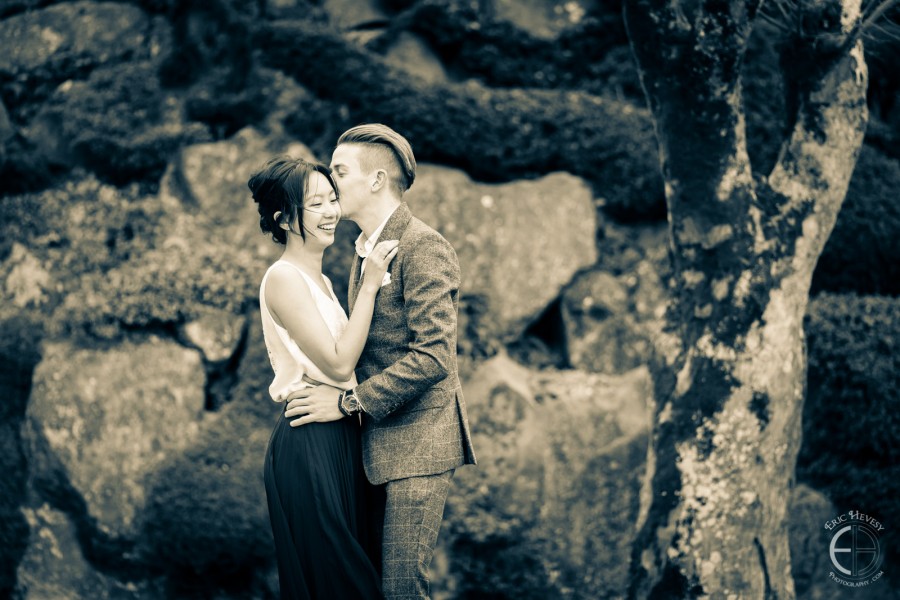
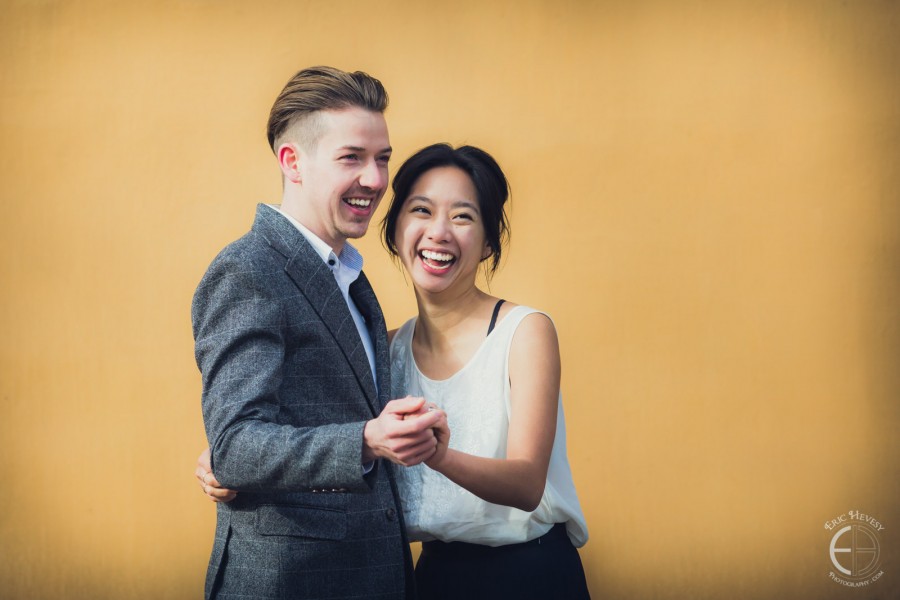
- Hands are difficult to pose, but if they aren’t, they can be very distracting – Look out for what the hands and fingers are doing. I found that I was constantly having to tell Pat and Meghan to reposition their hands so they weren’t a distraction. If you look at #5 you’ll see only two engaged hands (one each from Pat and Meghan) present in the image. They both initially had their hands wrapped around each other, making it look like a hand appears from nowhere. This is one common problem but the solution is simply to hide the obstructing hands. Pockets are a good solution too!
- Pose the eyes – Posing the eyes is very important because it is the first thing a viewer is drawn to in most portraits. For a shot like #5 I told Meghan to look at a branch on the ground, and for Pat to close his eyes. The shot wouldn’t have worked if she was looking at the camera and he had his eyes open.
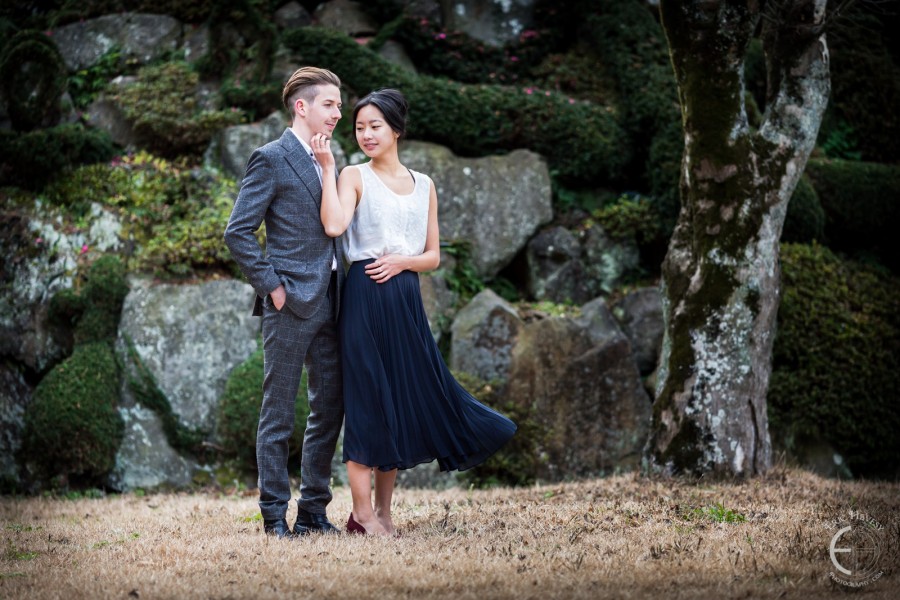
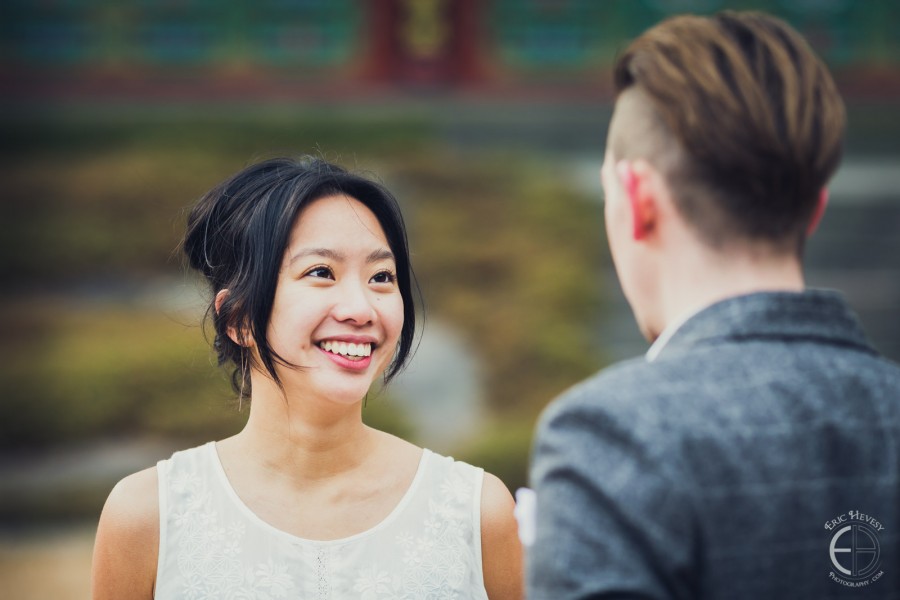
- Noses shouldn’t point at each other – Noses should be positioned at different angles and not directly at each other. Image #22 is an example of what not to do; it looks way too posed. You can see that #23 and #24 look much better when Pat is looking at Meghan and she is looking forward.
- Distribute the weight of the body onto one foot – Image #12 and #14 highlight how Pat is putting his weight on his back leg, thus making him look more relaxed than if his weight was balanced equally on both legs.
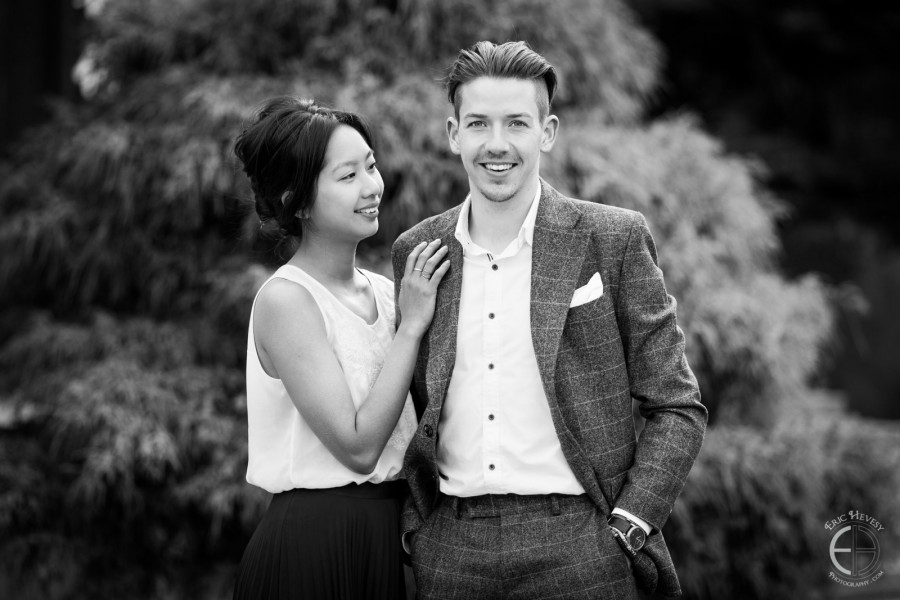
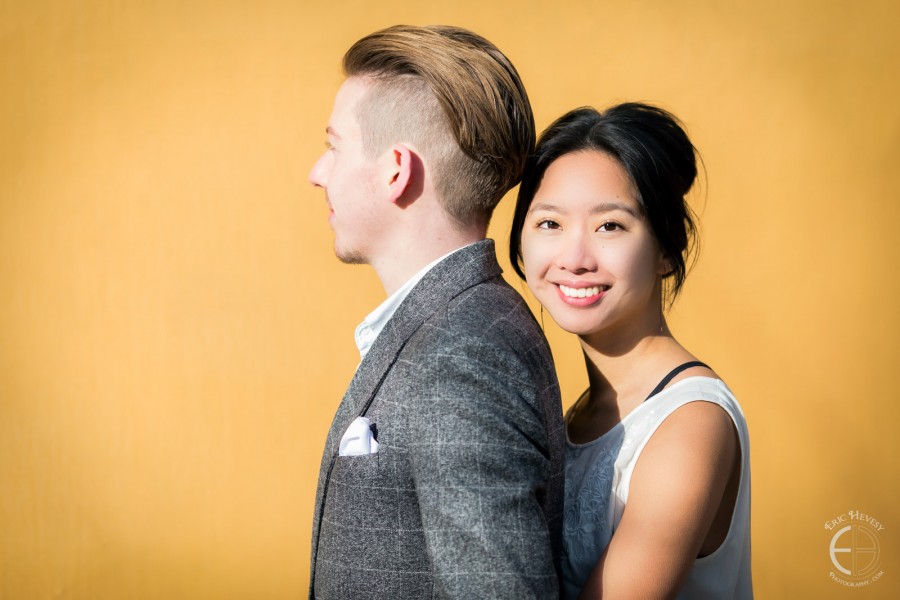
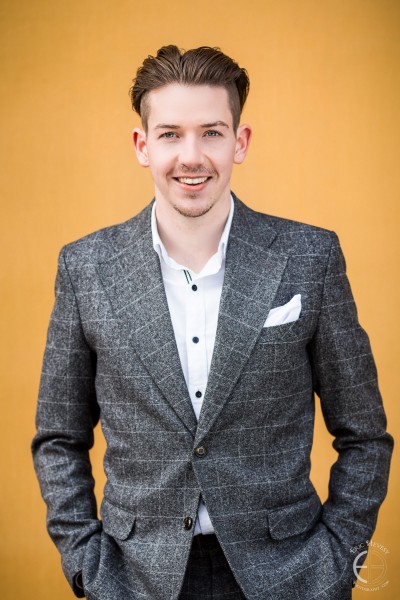
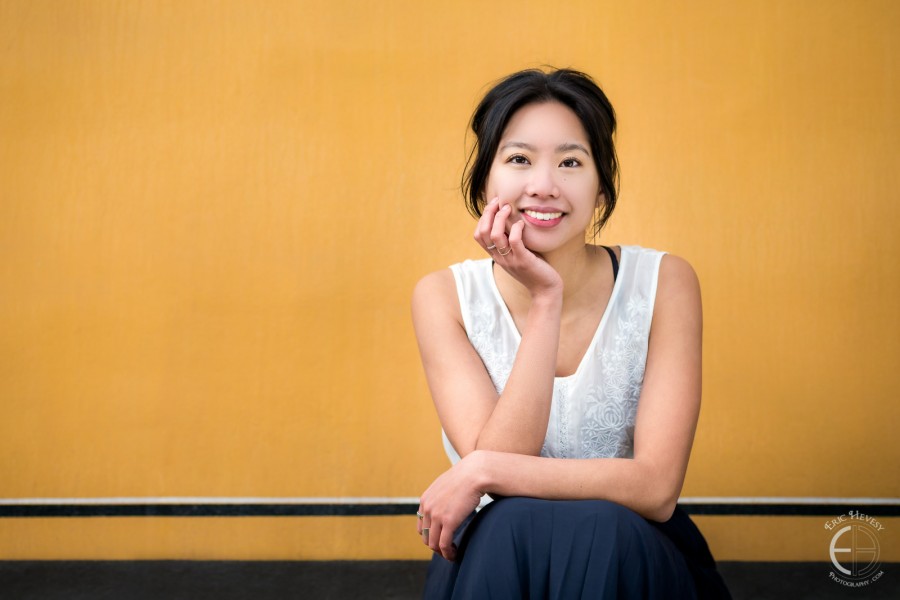
- Simple backgrounds = best backgrounds – Images #15-18 display how well a clean, simple background works with portraits. Also, the simple horizontal lines in image #18 add just enough to complement the image because they are parallel with the frame.
- Reflectors are an easy way to get balanced light – When the sun did appear for a few precious minutes, we were using the yellow wall to get some fun shots. I quickly got out my reflector and had Pat hold it below and to the right of Meghan (image #18). The sunlight coming from the top left of the frame bounced off the reflector and onto the shadows on the left side of Meghan’s face. Simple as that, we had great light and nice portraits of both Meghan and Pat individually.
- Clichés are boring, be creative – This is easier said than done, but the more you can get away from the standard shots and make creative images using your own style, the better your photos will be. It takes plenty of practice to form your own style and be confident enough to creatively make shots, but it’s rewarding when it works out. For #13 I blurred out some shrubs in the foreground to give an unusual border to the image. Not much, but I was thinking and doing a little more than the standard to make a more interesting image.
I need to mention that the above pieces of advice did not magically come to me. I learned these things by reading and studying books on the subject. The two most recent books I’ve read have helped me immensely. If you’d like to know more about how to pose people and how to take better portraits of people in general, I can’t recommend enough the books by the award-winning wedding/fashion photographer Roberto Valenzuela, Picture Perfect Practice and Picture Perfect Posing.
Roberto’s theory is that like any artistic discipline, one must practice photographing people thoughtfully and methodically to improve and become a competent professional. This is from a man whose previous occupation was a professional concert classical guitarist, so he surely knows about the importance of deliberate practice!
You may not be interested in such topics, but at least check out Roberto’s portfolio and prepare to be stunned by the beauty of his photographs. I aspire to take photos like Roberto some day.
That’s a wrap then. If you have the time, please comment below or on my Facebook page about the photos or style of editing that you liked. This will help me in determining how I should create and develop couple photography in the future. Thanks.
Also, if you’re interested in booking a photography session while you’re here in Jeju, please don’t hesitate to contact me!
Thanks for reading, hope you have a great Lunar New Year!



Hi Eric, thanks SO MUCH for sharing this post 🙂 It’s nice to read a blog that involves Korea and photography! I too am a photographer, though I primarily stick with landscape and architecture shots.
I enjoy shooting pictures of people, though it’s not my strong suit-like it is yours! I really agree that the simple background, particularly in #17 & 18, really does draw the audience in to the main focus of the picture–the people!
I also really like the natural expressions captured in #3 and #7–always nice to get a solid shot in between the smiles.
Great job and great information–thanks again for sharing!
I really enjoyed this post, Scott and I have to take our photos together using a tripod and a timer, so it can get tricky. We both have been trying to look up inspiration and different ways to pose together since neither of us our natural models! I find your information to be super helpful, so thanks! I love the photoshoot you did! My personal favorites are 3, 10,15, 17, 18 (that yellow background!!!!), and 22. We need to do more research and obviously just keep practicing! We will have to take a look at the books you recommended as well! Thanks so much for the helpful information and inspiration!
Thanks Megan, I’m glad you enjoyed the post and took something away from the information! Also, thanks for letting me know your personal favourites. Check out those books if you’re interested in taking more interesting shots of you and Scott!
Your use of prime lens for all those pics (save for the one in front of the temple stairs) is very inspiring. You see, I only have kit lens and prime lens and have no intention of buying (more of asking my husband to buy… Lol) more sophisticated ones. A photographer friend told me to just master prime lens and I can work around it even if subjects are not just portraits and close-ups. Thanks and congrats. Cheers to more opportunities for showcasing your photography skills.
What a lovely couple! You really were able to capture their love for one another which is great. Thank you for sharing the photos along with the tips!
The couple photography was absolutely stunning! I really loved 1,5, and 19. Those were my personal favorites. When doing outdoor shoots, mother nature sometimes has other plans for us. I really like the way you gave advice on how to do poses and how to make things better. I’m definitely saving this and trying out these things when I do some couple photos with my boyfriend again!
beautiful shots Eric and great tips for trying it out ourselves!
Wow, those couple shots are striking. I love the variations in the poses. As an amateur hobby photographer, I alway try to learn from the best so thanks for the tips you shared. I would be glad to meet you for a practical lesson if you don’t mind. I need to up my game in photography.
I learned so much from this post. I’ll be sure to use some of these tips in the future.
Your pictures are great!
Thanks for letting me know which shots you liked and why!
You’re right Wendy, using a prime lens is all about moving around and creating the image. It makes the photographer have to really think about the composition more, and thus create more creative images. No need to upgrade lenses, just practice more!
Thanks for letting me know which shots you liked Gina! I hope my information proves useful for you at some point!
Thanks William, and yes if you are ever in Jeju, I could give you a 1 to 1 lesson on how to take better photos! Email me if you’re interested, I’d love to help you improve.